Getting Started with FlowO
Welcome to FlowO! This guide provides detailed instructions on setting up the environment and using FlowO with your workflows.
Deployment
FlowO consists of several services orchestrated via Docker Compose.
Deployment Location
You can deploy FlowO anywhere. Just keep in mind that if it's not on the same machine as your workflow data (FLOWO_WORKING_PATH), file browsing features (logs, previews) will be disabled, but status monitoring will still work.
1. Prerequisites
- Docker and Docker Compose installed.
- Python 3.12+ (for the CLI/Plugin).
2. Setup environment
Download the env.example and save it as .env. In most cases, you only need to modify FLOWO_WORKING_PATH to point to the directory where you run your Snakemake workflows.
3. User & Group IDs (Linux)
To ensure FlowO has correct permissions to read your workflow logs and files, it is recommended to set your current User ID (UID) and Group ID (GID) in the .env file:
# .env
UID=1000
GID=1000
You can find your IDs by running id -u and id -g in your terminal.
UID and GID
By default, these values are set to 0 (root). Running FlowO as root is a security risk and may lead to file permission issues (files created by FlowO will be owned by root). Always use your local user IDs.
4. Reverse Proxy Configuration (Optional but Recommended)
Security: Use HTTPS
It is strongly recommended to run FlowO behind a reverse proxy (like Nginx, Caddy, or Traefik) configured with HTTPS.
The FLOWO_USER_TOKEN is sent in HTTP headers. If you use plain HTTP over a public network, your token could be intercepted. HTTPS encrypts this traffic, securing your credentials.
If you are deploying FlowO behind a reverse proxy using a custom domain (e.g., https://flowo.iregene-bio.com), you need to ensure the Snakemake plugin can correctly find the API.
By default, FlowO calculates its host URL based on the internal PROTOCOL, DOMAIN, and PORT. When using a reverse proxy on standard ports (80/443), this calculation might include the internal port (e.g., :3100), which is not accessible from the outside.
To fix this, you should manually define the external URL in your .env file:
# .env
FLOWO_HOST=http://flowo.iregene-bio.com
Once set, the "show" command in the user profile and the CLI utility will use this URL.
5. Start Services
Start the FlowO web service using our unified single image. This is the fastest and most stable way to get started.
You can download the recommended compose.yml file.
# Using pre-built image (Fastest)
docker compose -f compose.yml up -d
Optional: Multiple Containers
If you prefer a microservices-style deployment with separate containers for Backend, Frontend, and Caddy, you can use the compose.multiple.yml.
# Using pre-built images (Advanced)
docker compose -f compose.multiple.yml up -d
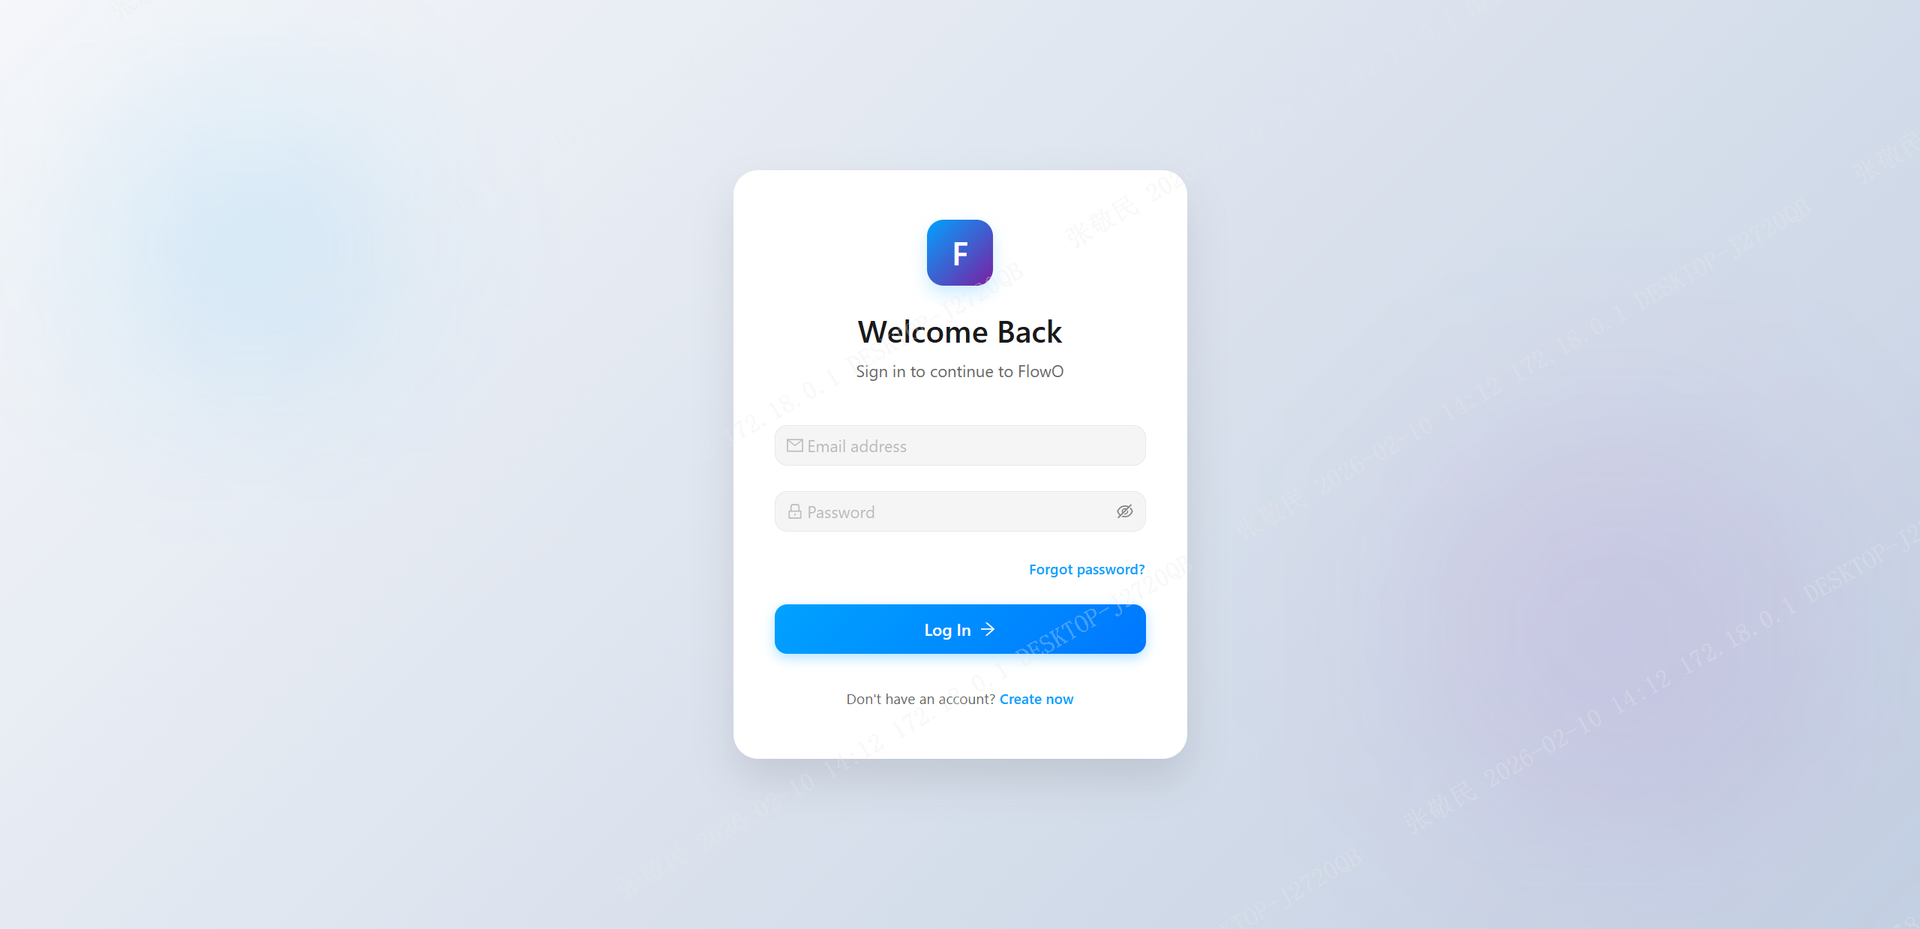 Open http://localhost:3100 in your browser. Create your account and log in. If you see the Flowo interface and the "Live Updates" icon is green, congratulations—your Flowo web service is running successfully!
This will spin up:
- FlowO Web Service: A single container including Backend (FastAPI), Frontend (React), and Caddy reverse proxy.
- Postgres: Stores all workflow data.
Client-side Installation
To use FlowO with Snakemake, you need to install the plugin on your local machine or compute cluster.
1. Install via Pip
pip install snakemake-logger-plugin-flowo
2. Generate an Access Token
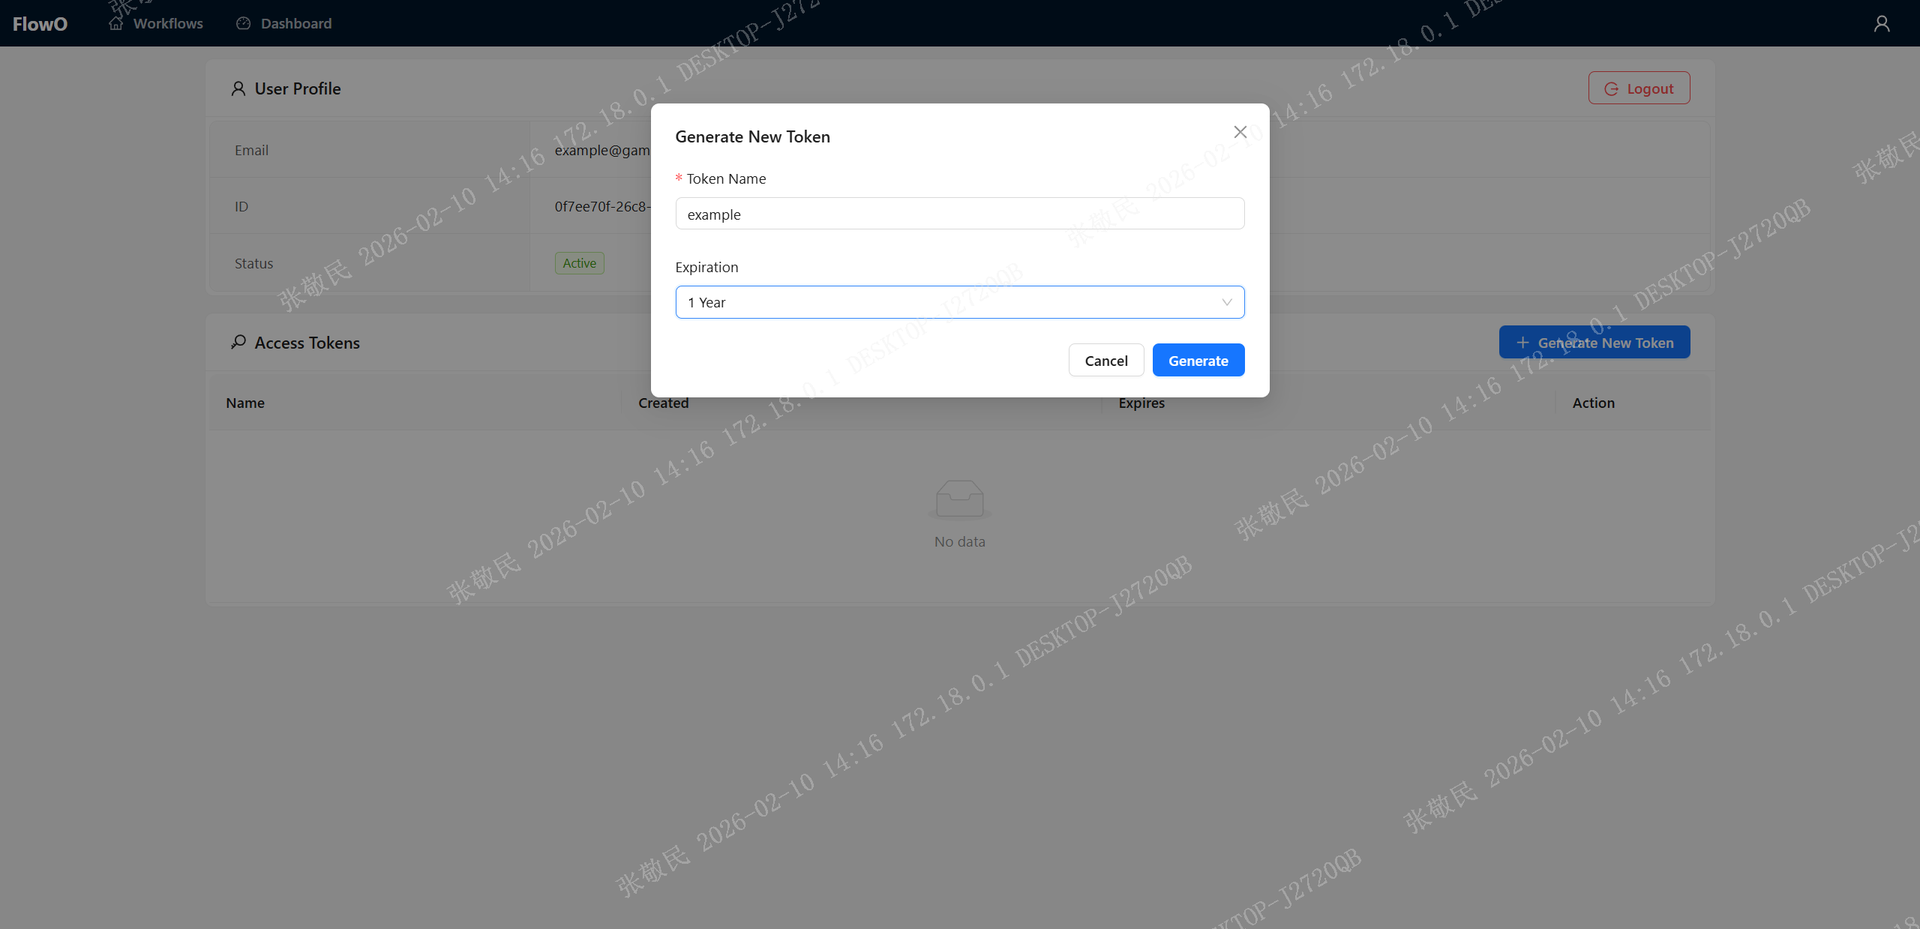 Next, create a token, which is required to configure the snakemake-logger-plugin-flowo. Click the user icon in the top-right corner, select Generate New Token, then provide a name and set an expiration time. Once confirmed, the token will be generated successfully.
3. Configure the CLI
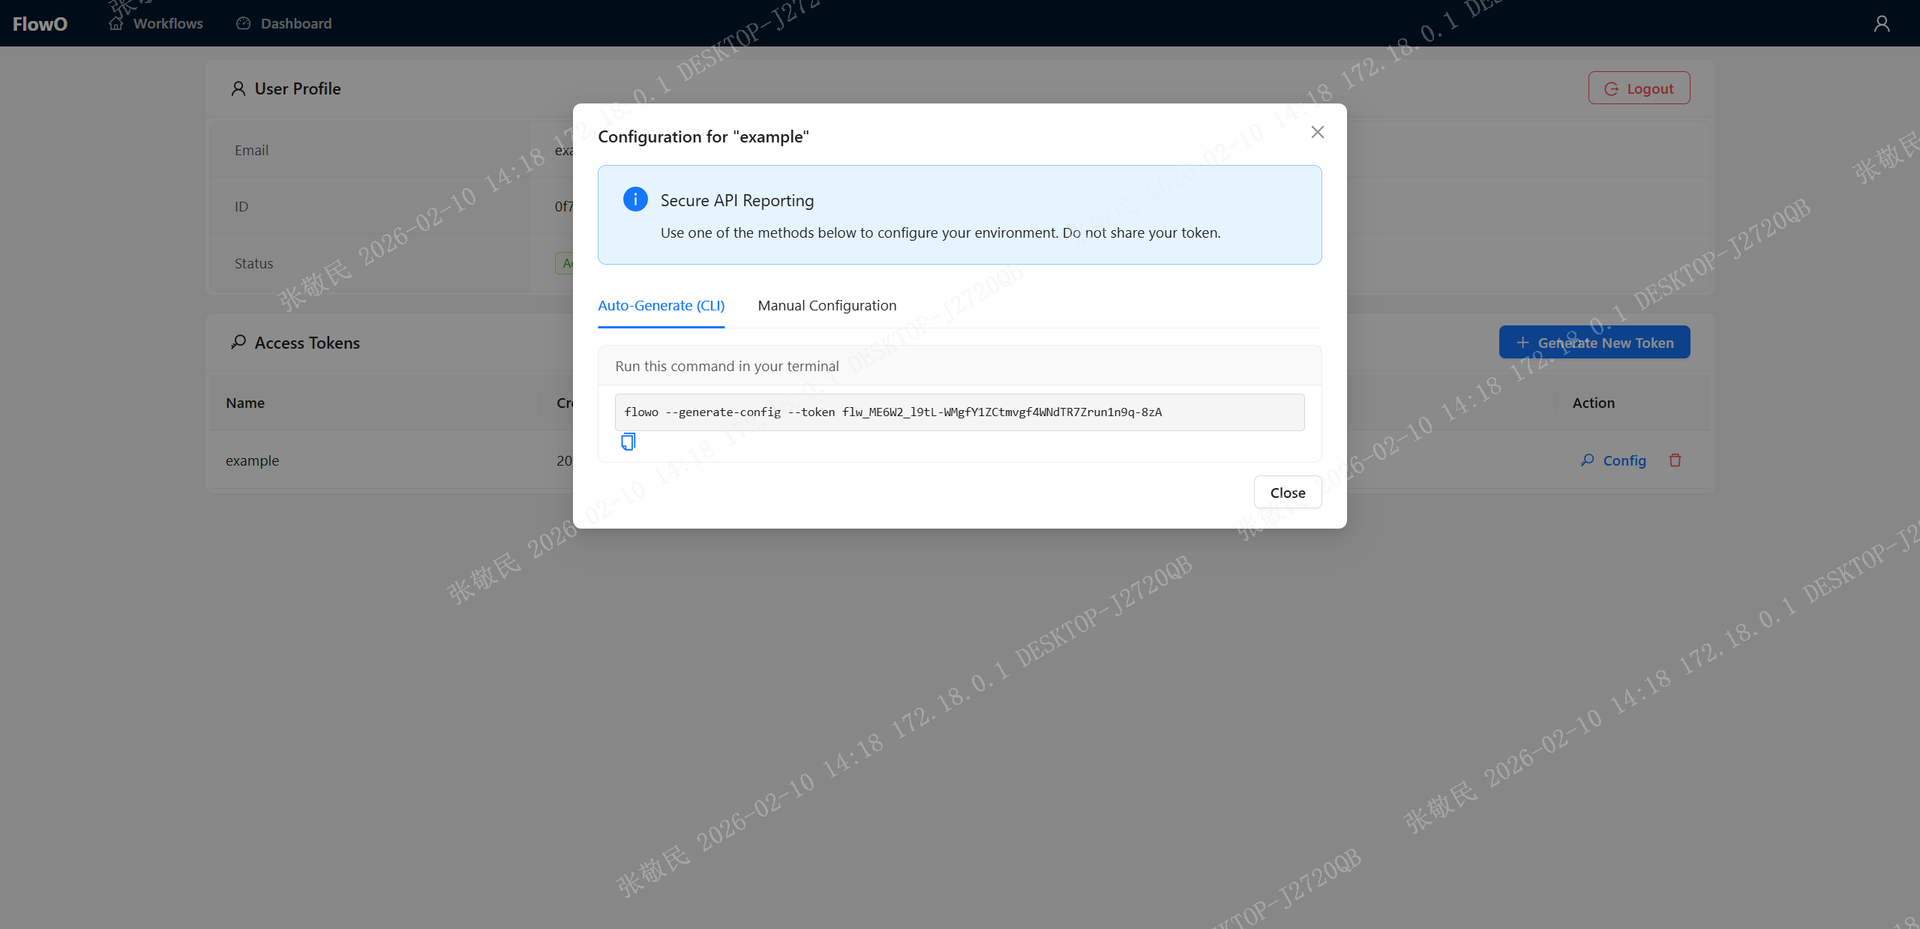 After that, copy and run this command in the terminal where snakemake-logger-plugin-flowo is installed. Once it finishes executing, the setup will be complete.
Usage with Snakemake
Once configured, you can enable Flowo logging in any Snakemake workflow.
Quick Start
cd /path/to/flowo_project_dir
mkdir demo                # Create a demo project folder
cd demo
wget https://raw.githubusercontent.com/zhanghaomiao/flowo/refs/heads/main/tests/demos/Snakefile
# Run snakemake with flowo logger
snakemake \
    --logger flowo \
    --logger-flowo-name=your_project_name \
    --logger-flowo-tags="tagA,tagB,tagC"
Logger Options
You can customize how your workflow appears in Flowo using additional logger arguments:
--logger-flowo-name: Set a custom display name (title) for the workflow.--logger-flowo-tags: Add comma-separated tags to help with filtering and organization.
Flowo will track your workflow progress and job statuses in real-time based on these settings.
Alternative: Configure via Snakemake Config
Flowo can also read its settings directly from the Snakemake config using the following keys:
snakemake \
    --config flowo_project_name=my_project \
             flowo_tags=tagA,tagB
config.yaml:
flowo_project_name: my_project
flowo_tags: tagA,tagB

# your other configs